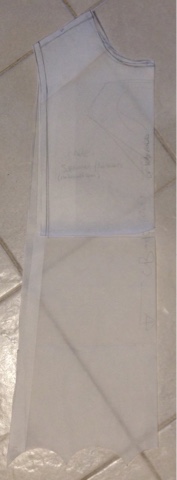
Firstly I made my pattern. You could use a commercial pattern or existing shirt as a guide. Basically it's two squares with a head hole, plus a cape.
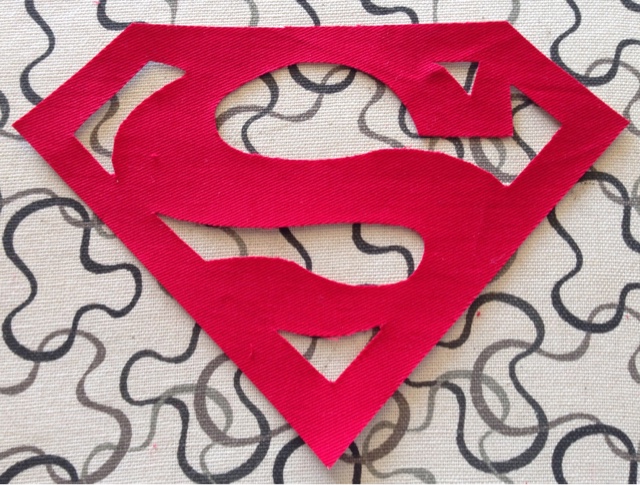
Next I needed to do my logo... You can find different versions online, but I have gone with the classic design.
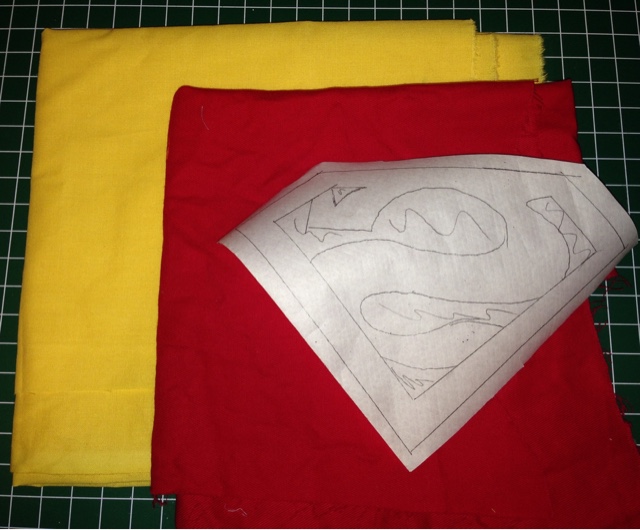
Copy the design onto the back of the visoflix, in reverse. This will be ironed onto the wrong side of the red fabric.

Cut out on the lines, making sure to remove the inside pieces, too!
With the yellow, since it is a bit transparent, I fused some vilene to the back. Use your logo as a guide, and cut out a piece big enough to fit. Iron this onto the wrong side of the yellow fabric. This is optional, but gives the yellow more pop, since the underneath colour can't show through...

You can now peel the back off the red part, and place it on top of the yellow.

One happy with the positioning, iron to secure the glue.
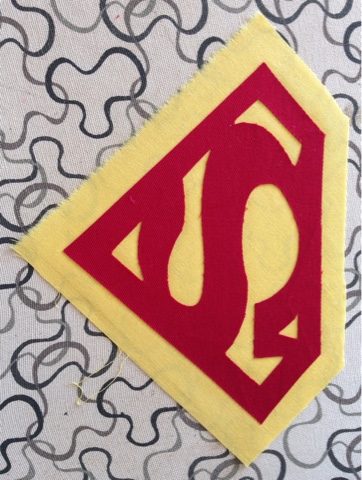
You can now trim the yellow back to the red edge. You could zig zag the edges, but I like to use a raw edge stitch. This is quick, and the iron on adhesive should hold it all together.

At this stage, I only do the inside, as the outside will be completed when it is attached to the front. I prefer to not back stitch, but pull the threads to the back. I secured with some knots and a drop of fray stop.
You can now stitch the logo to the front. I folded the front in half, same with the logo, and eyeballed the height. Just put it where it looks best ;)


There is little to do with the cape, except edge stitch. Since this is made from stretch fabric, it was unlikely to fray but gave a better finish. I used matching thread on my over locker and went around the three outside edges, with a dot of fray stop in the corners.
Stitch the cape to the neck, right side to wrong side of the back. Turn righ side out.
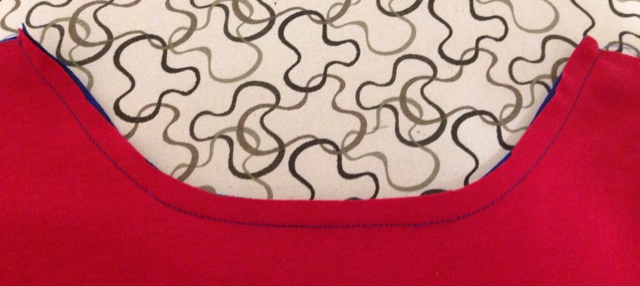
With the front, edge stitch the neck. Knit fabric doesn't fray, so I didn't neaten the edges, but if using a woven fabric this will be necessary. Also, the curve is easy to turn, but a woven fabric could use be done with bias binding, but remember to trim the seam allowance first...

Fold the edges under on the other three sides of both front and back.
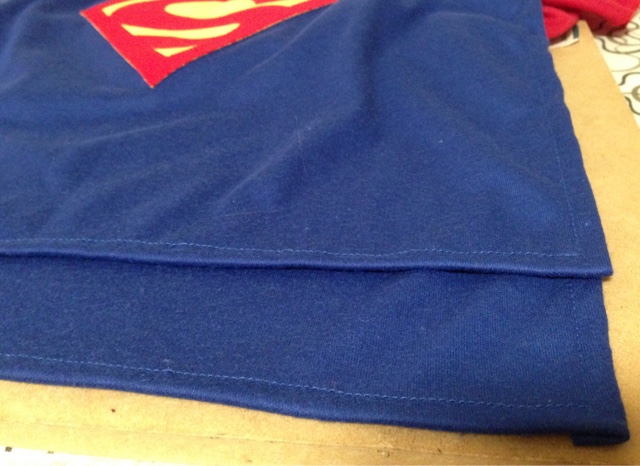
Now, for the shoulder seams. I had originally planned for the cape to sit flat, but after pinning it, I decided to put a pleat in it to give it a bit of movement. Stitch across both shoulder seams, right sides together.


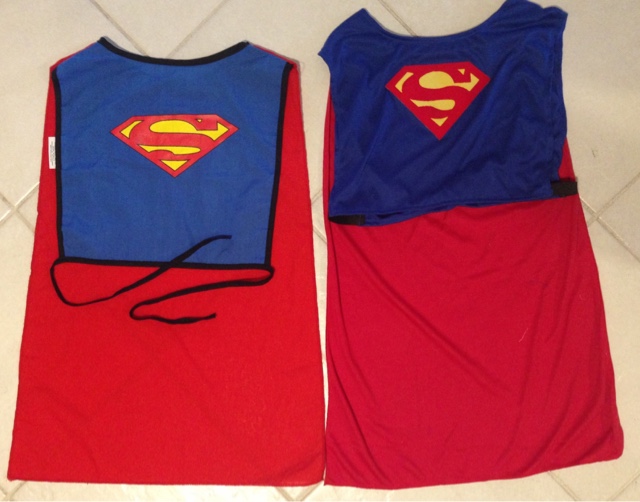
And that it it!