23 February 2014

I don't think we're in Kansas anymore, Toto...

Dorothy us coming along quite well! My favourite part so far are her legs and ruby slippers. 


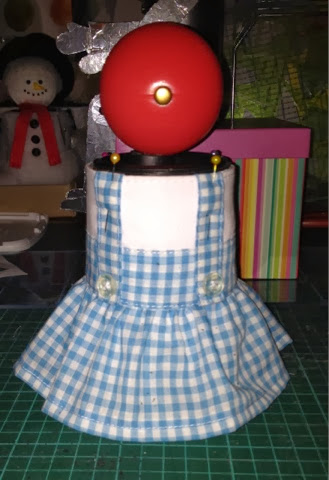
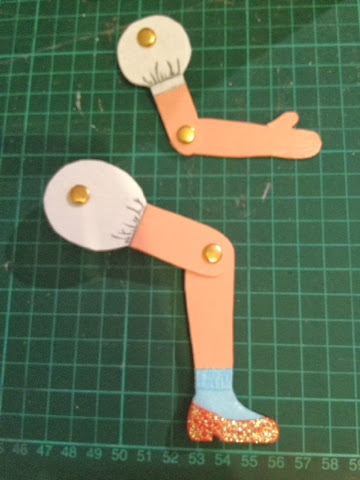
I painted all her limbs with gesso, then marked out the coloured areas and off I went! Then, with coloured pencils, added some detail to the sleeve, underthings and socks, plus added the same glitter glue from my witch over her red shoes. Too cute! It worked far better than I was expecting! I then gave the whole thing a coat of sealer, which was actually PVA glue ;). After a test run on some scrap, it worked out great. Gave it a glossy finish, and should protect it (for a while, at least..)


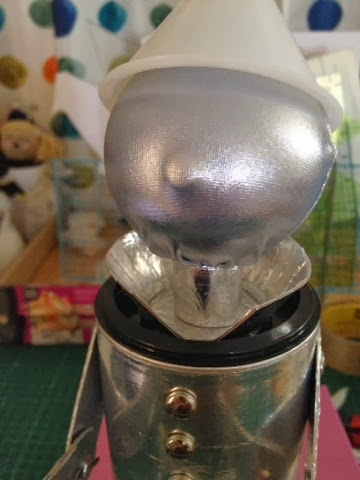
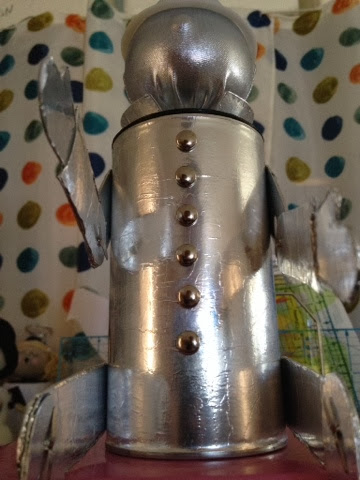
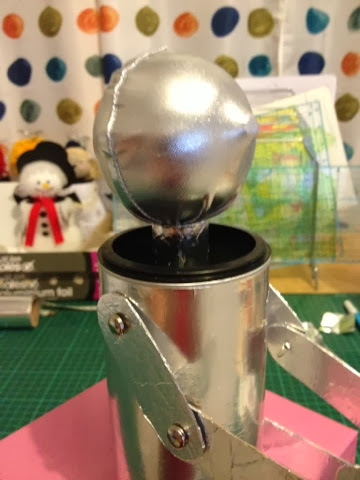
I tested her head with the nose the same as the Tin Man, but it just looked wrong, so I took it out. Much better!


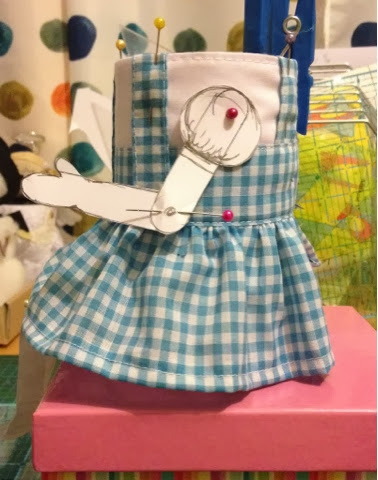
On the down side, I did have issues making the dress meet up at the back! Had to "patch" it over with some bias binding, but apart from that, the Cowardly Lion is next on my list!!

15 February 2014

Dorothy...

I've hit a wall with Tin Man, so I thought I would move on to Dorothy!

She has a dress, so far....


Fabric stitched onto a felt base. Sounds simple, right? Well, yes and no ;)


Firstly, note to self - make the felt slightly longer than normal, as the stitching tends to shrink the final size by a little bit. Just enough to make it not meet at the back without extreme stretching back into shape. Annoying!!


I plan on simply painting her arms and legs, rather than stick on fabric or felt, since the snowman was a big success. I will make the shape of her puffy sleeves in card and draw on the details. And if it doesn't work, I'll just glue fabric over it :)


She will also have the impression on underthings, with a similar style as the arms, but the plan is to add a little lace. And some ruby slippers, of course!!


08 February 2014

If I only had a heart...

Tin Man update :


He now has a collar and buttons. I think I have found the perfect hat, too! Not sure how I'm gonna cover it, yet.... :)

Still mulling over how to do his face.... Some experimenting is required! I also shortened his nose, so it's more of an impression, rather than protruding so much. It's still visible, as you can see...


02 February 2014

We're off to see the a Wizard...

I had a brainwave in the night, and have decided to tackle a theme - The Wizard of Oz - and first to be attempted is the Tin Man.


Good 'ol aluminium foil and cardboard....what could possibly go wrong?? :)

Well, firstly, alfoil is REALLY THIN!! Just cutting it is tricky, then you have to glue it without it wrinkling up! Yikes!!

Ok, so I started with the body by trying to stick it straight of - FAIL! So, I stuck a big piece onto some plain paper with spray adhesive, pushed all the wrinkles out with my fingers and waited for it to dry, then cut to fit - SUCCESS!! This may actually work! 

But what about his head? A quick trip to Spotlight, to get some silver Lycra that would do the job. I am also experimenting with a "nose" underneath the head sock. Not sure if I will keep it, but it's there for now. It's just a split pin with some spacers to give it depth... 


And he needs arms and legs! Once I decided on a style, the same issues would still arise - how to glue the foil without it wrinkling? But with the smaller pieces, it was less of a problem, although in hindsight, I would treat the foil with paper.... However, what I ended up with was a compromise. I also needed to differentiate between where legs/arms ended and feet/hands began, so they were done as separate pieces inserted into the two-pieces - like my original Santa....

Anyhow, here he is as of right now : 


He needs some buttons and a face and bits, but a good start.....