14 May 2012

Ted v2.0

Ted's had an upgrade! LOL!!

Thanks to Mums new embroidery machine, Ted now officially works for Fire and Rescue! The text is only 1cm high. So cute!

Ted also now has a helmet, although not technically the correct style but it's hard when he has a tiny head and large snout! I started out with a plastic ball cut to the right shape and I used a plastic 2L soft drink container for the visor. Glue, peg and elastic, and voila!


13 May 2012

More bags, different style....

So, I thought I was finished with bags, but I found a couple of pieces of scraps that were just begging to be used up!

I had made library bags previously out of the green bug fabric but all that was left was a 50x50cm-ish square. I found a piece of green that went well with it and used the square to make a double sided pocketed new mum baby bag, for Santa's Workshop to fill and give to needy families.

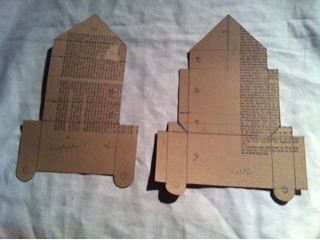
I also used up some of a pre-printed cot bumper print that was too narrow to use on its own. I put a 5cm wide gusset down the sides and bottom, plus a band at the top with matching handles. One with shorter straps had no lining, the other has been lined with some light weight curtain fabric. Should have done this to both, but too late now! Both of these also for Santas.

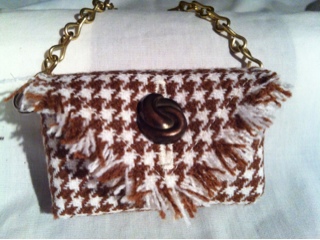
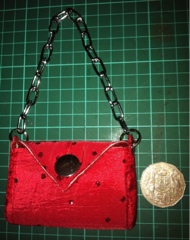
Also made a couple of mini bags, using the most sparkly fabric I could find! I decided that I can make these out of ANYTHING!! LOL!! All I need is an adhesive liner and stabilizer, no probs. However..... Make sure the adhesive is sewable!! This one was a high level, no-sew, so it was constantly gumming up the needle. Online solutions included sewing machine oil to remove the gum off the needle, but I found that some spray lubricant on a cotton ball worked pretty well. Just run the needle through the ball occasionally and it seemed to prevent the buildup.

Anyway, a productive weekend was had by me. Hope you did too!

HAPPY MOTHERS DAY!!!!


07 May 2012

Last few for a while....

Ok, so I think I'm at the end of the mini bag phase! I've created a template for a slightly modified "one-piece" pattern that works great and I think I've perfected the lining technique. So here are my final few experiments in texture and design..... (the houndstooth is my favourite. I'll be keeping this one!)

The new design removed one of the seams, making a more streamlined front and all of it is done flat - buttons, lining, buttonhole - do its easier to get secure and consistent seams. Also, fewer seams mean less that can come apart!

I have also borrowed a stand from my parents to use on Sales Day. Looks pretty cool, I think!

Time for something new.... Now, what shall I choose??? Big bags, baby bags, library bags.. Maybe some more tool belts?? Dolly sleeping bags might be fun.... And use up some stash, too!!

Bags on display stand


No, its not a rocket ship... Its the mini bag pattern!!


04 May 2012

Mini bags experiments...

Tried using a lighter fabric this time with iron on vilene to help prevent fraying and give some weight - a velvet with sequins and a light lining-type with sparkly spots on it. Inside is the upholstery velvet I have used previously.

I think they are a little too light, but maybe if I put the vilene on both pieces, not just on the outside pieces??

Methinks there is still more experiments to be done!!!


(I have put one little bag next to a 50c piece to give some kind of idea of size....)